Addressing issue for Level and Grid Bubble size in different view scale?!

Hope you all are doing well!

Let’s address another issue that we usually face in our projects,

Most probably you have faced this issue before, imagine you are in the elevation or plan view and you need to change your view scale from 1:100 to something like 1:200 or 1:50, your grids and level symbols will not be presented with the proper size. They are either interfering with each other or quite small.

There are some workarounds, like design options or using separate link files for different scales. And I would say each of those workarounds will cause other issues, such as productivity and flexibility.

In the following video I will demonstrate how you can address such cases in your projects,

Hope you like it,

Behzad

Control Room Separation Lines across different Disciplines

Hi again,

Tonight i want to share another tricks which i shared in BiLT ANZ 2018,

Let’s solve one of the big issue and answer to this question, How we can control Room separation lines in Link file, when we are sharing model across different disciplines?

This is one of the biggest request from M&E people, when they are creating space in M&E file they need to define their spaces with freedom and without any restriction from Archi layout.

You can see one example in below.  in left side we have Room separation lines, which you can see with red color.


Regarding to Archi discipline for this building we have separate area for manager, reception, counter and lobby. And the way they are defining this separation is according to furniture placement, different material or partition system.

But maybe for M&E, all of this area are part of one space and no need to define separate space for each portion.

Now if we go for M&E file and make try to define Space in according to Archi Layout, this will not be possible.


Go to Archi Model and make try to define new Phase, you can call that “Room Separation Line”


Select all Room Separation line from model and after that for demolition phase, define Room Separation Line.

Yes just this, make save your file and go to M&E file, make delete all Space that you have for Manager, lobby, etc.  You should do it with Space schedule and select those space that you want to delete and make them delete from schedule.


Now if you retry it again still you can see same effect and you cannot make one space for all area.

Select your archi model link and go to Edit Type from properties panel. In Edit Type dialogue box go for Phase Mapping and change phase mapping system like below picture.

Everything is set up now and you can define new Space without any limitation from archi room separation line.


I hope you enjoy and this could help you for managing your project,

I received comment, trick was very simple, perhaps it is. 🙂

Revit is much simple than we think and in most of the time we can solve issues without Dynamo and scripting,

Take care,

Behzad

How we can define 2D Tags/Symbols with Rotate option?!?

Hi to all,

Now after while i just want to share one tricks with you, which i shared in BILTANZ 2018,

This is very useful tricks and i’m sure when you are delivering projects, you will face with this issue or you already face with it.

Just take a look to below picture, did you saw this before? one Tag with two label text, for example : Type Name, Column Location.


But, but because you need to present this label text with different direction you have to make duplicate from that and you have to define extra parameter for visibility to say for 45 degree which item should be presented, or for vertical and Horizontal.

let’s finish this story one time at all.

Just define one new Generic Annotation, you can say this should be Furniture Tag or any other Tag.


Define Label Text as you need and define right location regarding to reference point of two reference plane.

Go for another Generic Annotation Family, you can call that “For Angle Definition”. Define one annotation line like below picture,

Now just load it into your Furniture Tag Family and define location for placement like below picture.

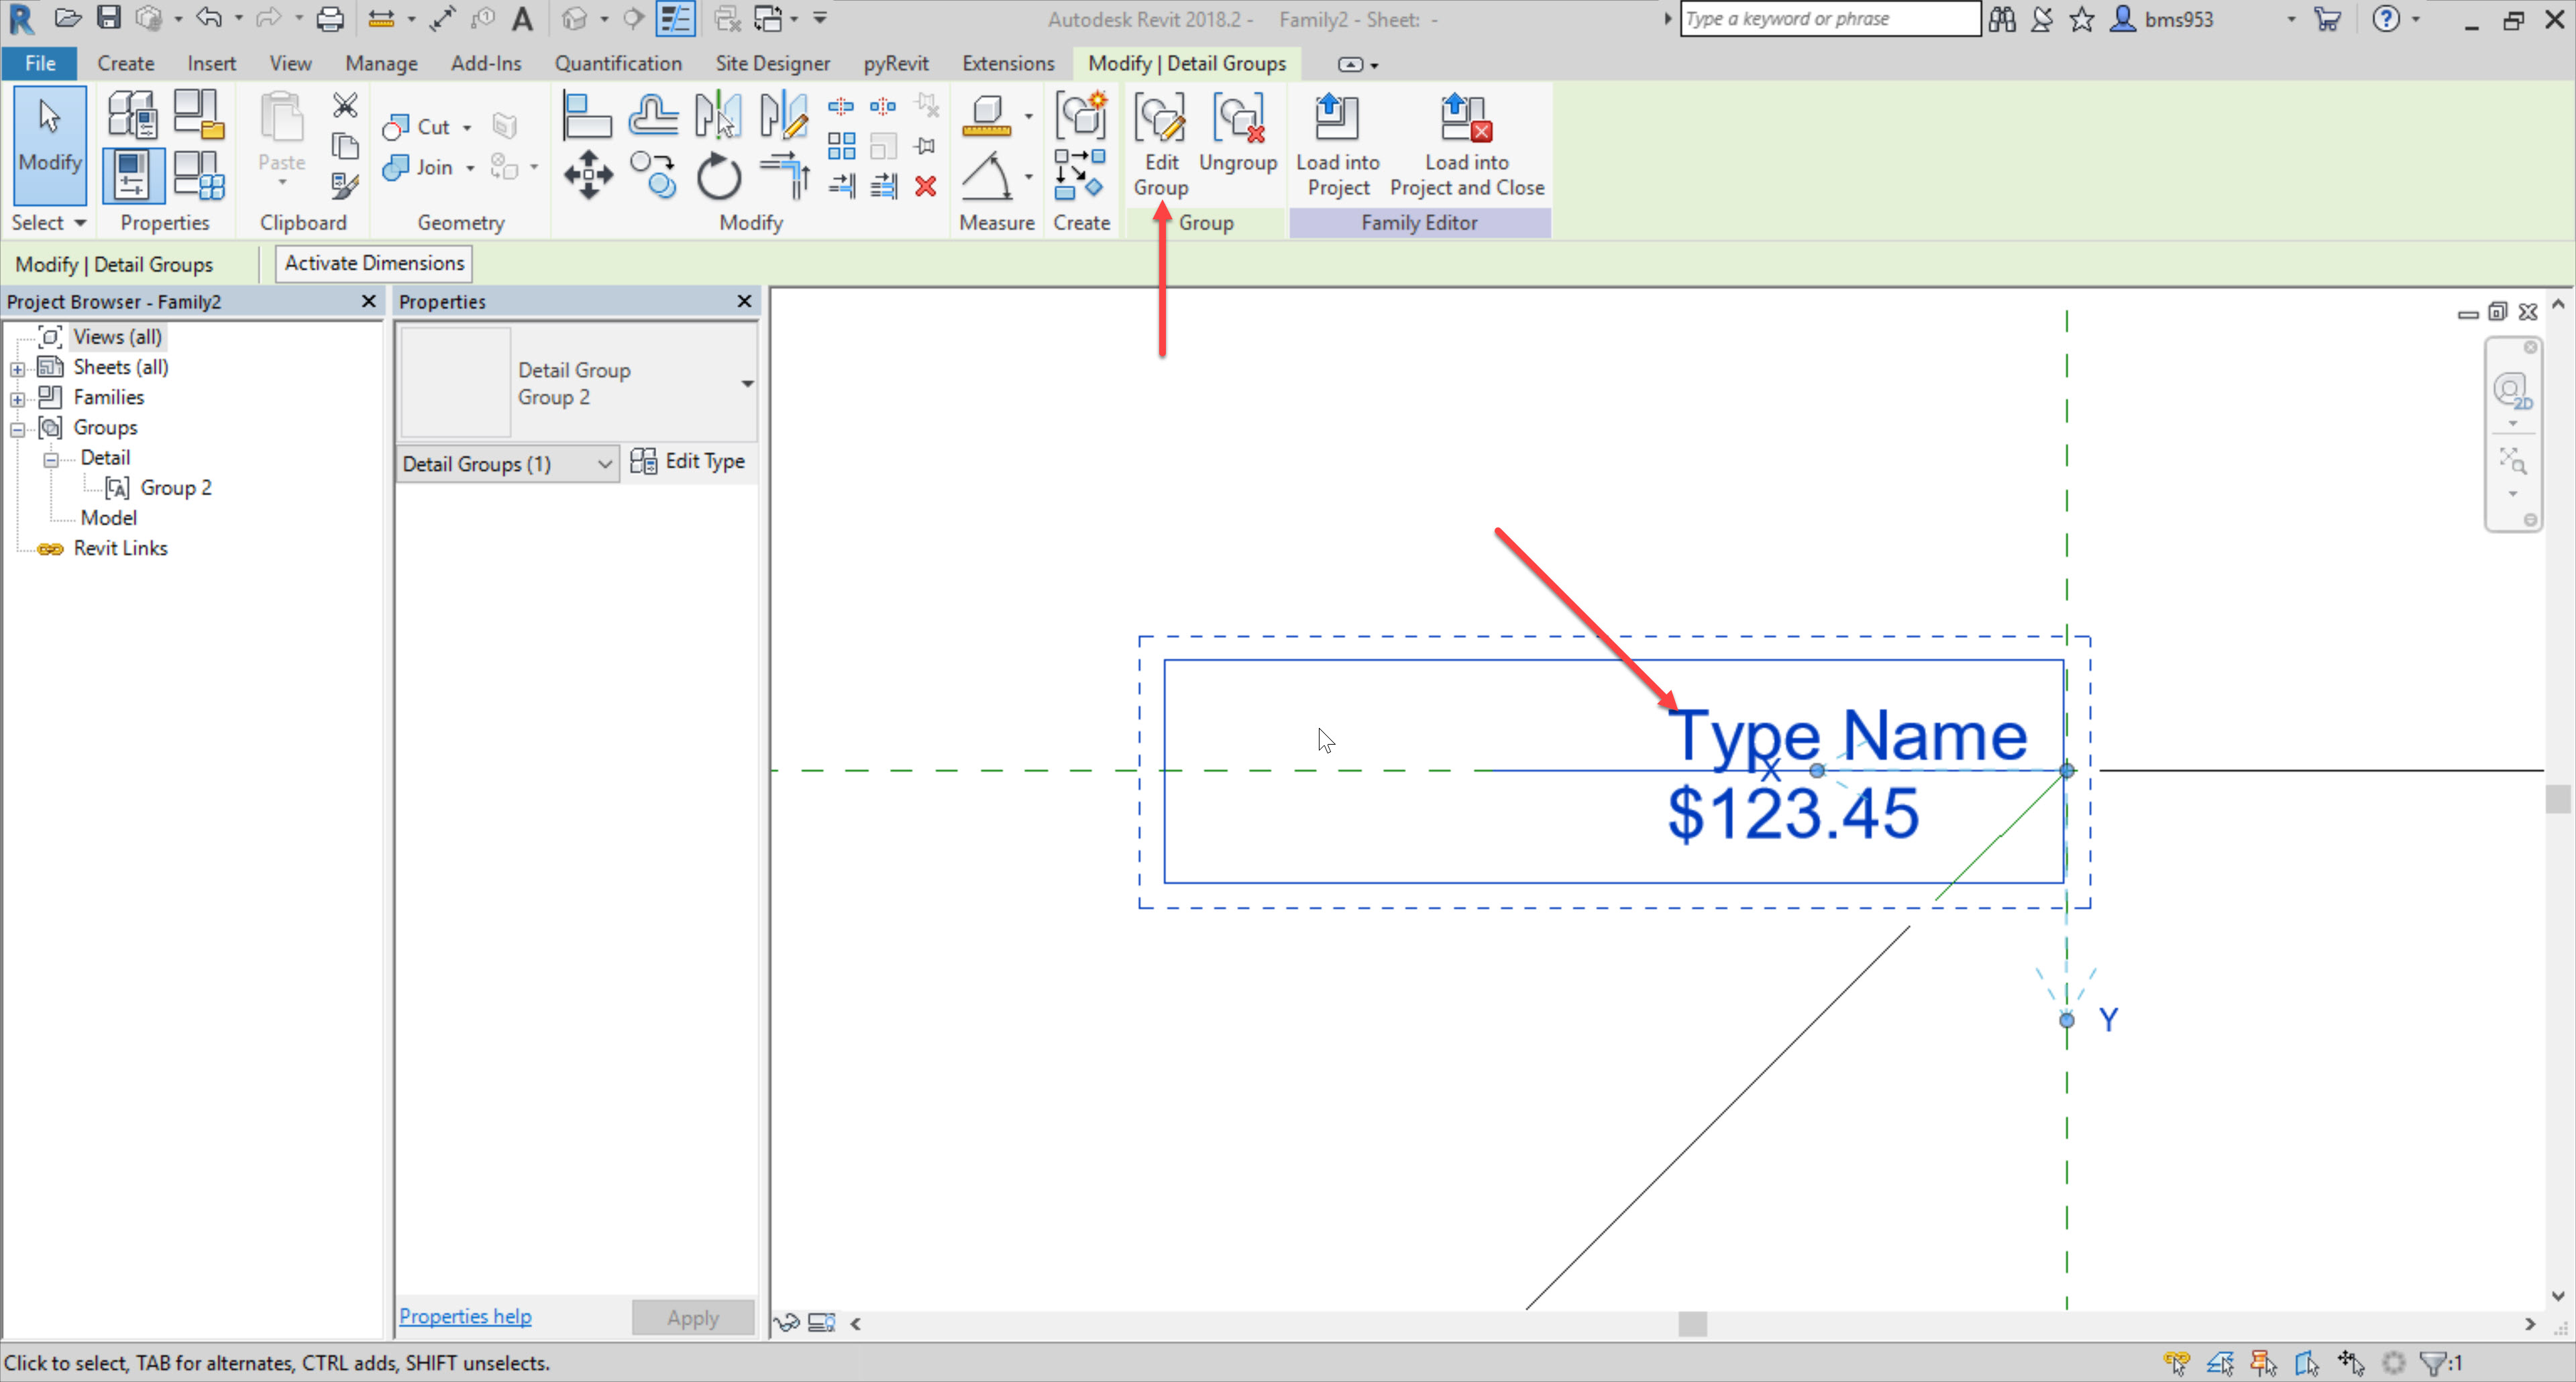
Select Generic Annotation Family “For Angle Definition” and label text object and put them in the group.


Define one Reference Line with 45 degree like below picture and make it Pin.

Now you need to define one Angular Dimension between Reference Line and that annotation line from “For Angle Definition” family.

Call that “Overall Angle” and define another parameter “Angle”. In formula row for Overall Angle define this ” Angle+135 “.

Select angular dimension and make it change to Overall Angle.

As you can see in below picture, suddenly you will get sort of result like reverse for you text element.


Go for edit group and make edit your group according to below pictures and step that you can see.


Make click and drag on the grip that you can see and do this clock wise .


You will get result like below picture and say Finish Edit mode for group.


Move you group from reference location like below pictures to the center of family, which is intersection of two reference plane.


Like below.


Now go to family “For Angle Definition”  select annotation line and say turn off visibility. Load it into your Tag family.


Orwrite Existing Family .

Now you can define new family type regarding to any angle as you want. Like H,V,30,45,60 or any other.


Next trick will be next week.

Enjoy,

Behzad


My promise, For Golden Tricks in BiLT ANZ 2018!?

In this year, 2018, my proposals become accepted for four BiLT Event around the globe. I am very excited and i know it’s not possible to find better opportunity for sharing knowledge in four different continent.

We just finished BiLT Asia 2018, three weeks ago and next one will be BiLT ANZ.

In passed one year i wasn’t active in my blog and i didn’t shared with you about new tricks which i can say no body knows in the world,

Now i have chance to share “Golden Tricks for saving your life!?!?” with you in this event and I truly believe BiLT ANZ 2018, is the right event for sharing all new tricks with you,

Some of major Tricks are as below:

  1. If you want to know about making active or deactivate your Room/Space separation line across discipline!?!
  2. If you want to know about 2D Tags and Symbols with Rotate Parameter!?!
  3. If you want to know how you can do your project lighter ten times than normal way!?!
  4. If you want to make your BIM Model optimized with simple process!?!
  5. If you want to compare four number with each other and find bigger/smaller one with one formula in one line!?!?
  6. If you want to define Structural column but with calculation in your GFA!?!
  7. If you want to know about fast and simple way for FFL and SFL in your project!?!
  8. If you want to make optimize your BIM Model for CFD Simulation, with simple workflow!?!

And many other “IF”, you can attend for this session and you will never find this type of tricks anywhere else.

At the end of this session you will left the room with big smile, you know why!?! just because all of those tricks are very simple.

Find more information from below link:

http://www.rtcevents.com/bilt/anz18/

See you soon in Brisbane, Australia

ReInvent Revit Users!

Since around 15 or 16 years, i starts my journey with Inventor and i was joying to work with this software. One of the best software for manufacturing and construction stage in the market.

Also,  when first time i starts to work with Revit, i found lot’s of familiar tools and icons. Which is common in Autodesk platform. Step by step after i start with Revit journey, i understood in many parts logic and the way we are defining parameters, doing modeling, assembling elements, defining rules, providing drawings is same with Revit.

In market, every time and every where i meet different Architects or Engineers, who were very interested to learn one software for construction stage or for providing construction details for different products or complex shape that they designed.

But every time sort of concern or doubt about manufacturing software make them disappointed to learn anything about this category.

In next April, i will deliver one talk in BiLT Asia 2018 “ReInvent Revit Users” and i will show to all, how with 2 hour you can become Inventor User.

If you are currently Revit Users and you want to become Inventor Users in 120 minutes this session is for you.

You can receive more information from below link:

http://www.rtcevents.com/bilt/asia18/

See you all, in #BiLTASIA 2018


Top Ten Speaker in BiLT Asia 2017

That was my first experience of BiLT Asia 2017,

I become one of the Top Ten Speakers in this event ( Rank 8 ) and i should say tank you to all Speakers for what you are doing for sharing your idea and making this event more valuable year by year.

Also I should say thank you to BiLT Committee for what they did for preparing this great event and gave me this chance to be Speaker for this.

I was very lucky because i meet many great and knowledgeable people.

http://www.rtcevents.com/blog/?p=7460&utm_source=rtcevents&utm_medium=email&utm_campaign=globalnews20170627

I should say Thank you to Wesley Benn, Phil Lazarus, Richard Kuppusamy, Chris Needham, Phil Read,  Heidi Lam.

And also i should say thank you DP Architect and my two friends Hui Min Chan and Kelvin Tam for Supporting me.

And i hope to be speaker in next BiLT Events.